Virtual joystick on Linux
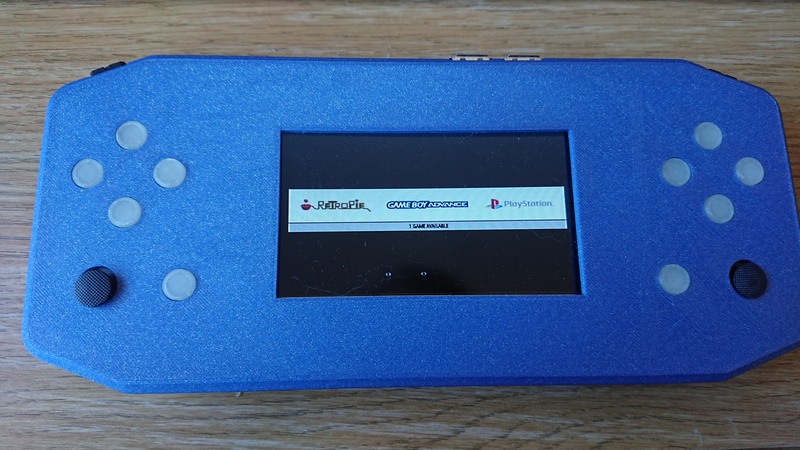
A few months ago, I built a home made retropie based handheld console built around the raspberry pi 3B+. There probably wasn’t anything too exciting in the build itself (it was made mainly using standard parts with a 3d printed shell). However, I believe the way I got the input working isn’t as well documented as I believe it should be.
The end result of this project was a battery powered console that is incredibly uncomfortable to hold, so I’m not going to put together a full build explanation. I’m only going to talk about the arduino code and the driver I put together.
What was I trying to achieve?
Most people seem to use an arduino leonardo or a teensy microcontroller with their handheld raspberry pi consoles. Or they would connect the buttons on the console directly to the GPIO pins on the raspberry pi. This is a perfectly good option, but I wanted my console to have two analog joysticks, and due to the lack of analog to digital converter (ADC) on the raspberry pi, I needed to use something external.
I had a couple of atmega 328p’s, the microcontroller that powers the arduino uno among others, lying around so this seemed like a good option.
In the end, I wanted 4 analog axes and 14 buttons (up, down, left, right, start, select, A, B, X, Y, L1, L2, R1 and R2). An atmega 328p has 6 analog inputs and 14 digital IO ports. So it seems like my desired button scheme would just fit on a single chip.
The hardware
The wiring and hardware for this project wasn’t particularly interesting so I’ll skip over most of the details here. I wanted to keep the serial output of the arduino free, so no buttons were hooked up to digital pins 0 and 1 (which are used for this protocol). The analog joysticks were attached to analog inputs A0 - A3 with the remaining buttons on A4 and A5. This meant that every single pin was used on the microcontroller (literally the first project I’ve done where this is the case).
For size and cost reasons, this was also built as a minimal system, so no arduino uno inside my games console. Maybe I’ll write an article at some point about the easiest way to solder up an arduino compatible microcontroller on a perf board.
The software
This is where things get exciting. The code for this post can be found here: https://github.com/gwilymk/arduino-joystick. I recommend opening this up if you plan on following how this was done at home.
The atmega chip was programmed using the arduino environment (which I’ll refer to as the firmware), and the driver is written in rust.
The joystick firmware
Running on the atmega chip, is a very simple sketch that reads the state of all the buttons and sends packed bytes containing the result along the serial bus every 10ms. This isn’t particularly interesting, but the format of the data will be important when looking at the driver code.
The data format is:
Start marker:
1111111111111111

Which buttons are pressed, 1 means pressed in some order
0011101000101111

The state of the 4 joystick axes
0000000101000101
0000001001001000
0000001001001100
0000001001110010
So a single frame is a total of 12 bytes split into 2 byte sections. Since there are a total of 14 buttons, the first two bits of the button state will always be 0. Similarly, since the ADC of the arduino has 10-bit precision, the first 6 bits of the joystick state will always be 0s.
Therefore, the start marker is unique in that it is the only 2 byte field that starts with 1s (which is how the driver and the firmware line themselves up when the firmware starts up).
You can have a look at the code for this in the joystick-firmware folder in the repo if you want to see how this is implemented.
The joystick driver
This is where things get more exciting.
Under the hood, we use udev to emulate the joystick.
The gnarly bits of this are hidden by the input-linux crate which is used quite heavily.
There are a few potential things that you might run into while trying to emulate a joystick yourself.
- However hard you try to tell Linux that you are emulating a joystick, if it doesn’t have a trigger button, it won’t believe you. From my list of buttons above, there wasn’t a trigger. But I had to include it or my joystick wouldn’t show up.
- There seem to be some strange rules about when you have to run as root or as a regular user. On my desktop I could run as my regular user, but on the raspberry pi I had to run it as root.
I’m going to quickly describe the code here in detail. I will assume some familiarity with rust, but it probably isn’t massively important to get the idea across :).
Creating the virtual joystick
let uinput_file = fs::File::create("/dev/uinput")?;
let device = input_linux::UInputHandle::new(uinput_file);

let input_id = input_linux::InputId {
    bustype: sys::BUS_VIRTUAL,
    vendor: 34,
    product: 10,
    version: 1,
};
The first thing we need to do is open the /dev/uinput file for writing.
This is the file that udev expects to write to.
We also assign some random vendor, product and version information to our joystick.
It doesn’t really matter what you put here, but I guess you don’t want to clash with existing ones?
(I’m pretty sure I just typed random numbers here myself).
device.set_evbit(input_linux::EventKind::Absolute)?;
device.set_evbit(input_linux::EventKind::Key)?;
device.set_keybit(input_linux::Key::ButtonTrigger)?;

for button in Button::all_buttons() {
    device.set_keybit(button.to_evdev_button())?;
}
Here we set various configuration options for our virtual joystick. The first says we’ll send absolute positioning events (this will be for the analog inputs). Then that we’re going to also send key events (which will be the buttons).
The keybits are listing all the key events we could possibly send.
As mentioned above, you have to include ButtonTrigger otherwise Linux doesn’t work out that it is a joystick.
The rest are the remaining buttons which are stored in an enum elsewhere.
let standard_info = input_linux::AbsoluteInfo {
    value: 0,
    minimum: -512,
    maximum: 512,
    fuzz: 0,
    flat: 0,
    resolution: 50,
};

device.create(
    &input_id,
    b"arduino-virtual-joystick",
    0,
    &Axis::all_axes()
        .map(|axis| input_linux::AbsoluteInfoSetup {
            axis: axis.to_evdev_axis(),
            info: standard_info,
        })
        .collect::<Vec<_>>(),
)?;
Now we create our device in /dev/uinput.
The standard_info stores information about the joystick.
I didn’t need to change many values here, but since the 10-bit ADC on the atmega produces numbers between 0 and 1024 with 512 being the neutral position, we scale this to -512 to 512 for each axis.
For some reason, you have to set up the axis information when creating the device but buttons beforehand.
At this point, if you run just this code, you’ll find a virtual joystick registered in your list of input devices.
However, in order to do anything you’ll need to send ‘events’ to udev.
Pressing buttons
pub fn button_press(&self, button: Button, is_pressed: bool) -> Result<(), Error> {
    let value = if is_pressed {
        input_linux::KeyState::PRESSED
    } else {
        input_linux::KeyState::RELEASED
    };

    self.write_event(input_linux::KeyEvent::new(
        empty_event_time(),
        button.to_evdev_button(),
        value,
    ))
}
A button press is actually a key event.
All events come with an EventTime which didn’t seem to mind always being set to 0.
I can’t remember if this meant something special (too long since I wrote this code).
A button press or release is just a key press or release with the correct button code. However, if you just do this, then not much is going to happen.
Since you could in theory press multiple buttons at once, and these multiple buttons at once could be important, after every event you send you must also send a synchronise event. This event will cause all the events since the last synchronise event to be processed.
pub fn synchronise(&self) -> Result<(), Error> {
    self.write_event(input_linux::SynchronizeEvent::report(empty_event_time()))
}
There isn’t much more to say about button events here.
Moving axes
pub fn move_axis(&self, axis: Axis, position: i32) -> Result<(), Error> {
    // error handling omitted

    self.write_event(input_linux::AbsoluteEvent::new(
        empty_event_time(),
        axis.to_evdev_axis(),
        position,
    ))
}
Moving an axis is an AbsoluteEvent.
In this case, the position should be between -512 and 512 as set up earlier.
Hooking up the Serial connection
I wanted to minimise the number of external components. So the atmega’s serial connection is connected straight through to the raspberry pi. Since the raspberry pi runs at 3.3V, to simplify the voltage handling the microcontroller is also run at 3.3V. This works perfectly well according to the acceptable voltages ranges for an atmega 328p and means that it and the pi can be wired directly to each other.
Serial (or UART) can be found on GPIO pins 14 and 15 (physical pin 8 and 10) on the raspberry pi’s GPIO port.
You need to set it up in the pi configuration as described here.
With that set up, you can access the serial port on /dev/serial0.
So, I copied the executable built on the raspberry pi (or cross compiled) to /usr/local/bin/arduino-joystick-daemon and then in /etc/rc.local added /usr/local/bin/arduino-joystick-daemon /dev/serial0 &.
Retropie immediately recognised the joystick and allowed me to configure it.
Conclusion
You don’t need to hook anything up to the USB port on your raspberry pi if all you need is a few analog inputs. Also, you should think about ergonomics a little if you want to design a games console with a raspberry pi inside it.